The useState Hook
State helps build highly performant web apps. To keep track of our application logic, we need to use useState. We can reflect any UI(user interface) changes via changes in state.
useState function lets us use state in a functional component.
In order to use useState in our component, we have to import useState first. useState is a named export; so, we will export it with curly braces.
import React, { useState } from 'react';
Let's make an example of how to use useState.

useState returns an array of two items:
- the first element is the current value of the state.
- the second is a state setter/updater function, which we use to update our state.
In short, state tracks the value of our state. The setter function updates the state and rerenders JSX elements.
Developers generally prefer array destructuring with useState hook or we need to write more verbose code like this:
You may ask, How React knows when to render? React components will only rerender when their props or state have changed. Props are passed into a component and read-only, whereas a state holds information about the component, and can be updated. During the initial render, the returned state is the same as the value passed as the first argument (initialState).
So, here we updated our state with the setTitle setter function and passed a different string inside of it. When the button gets clicked, we are updating the state with the onClick event handler. The setTitle function accepts a new state value and rerenders the component.
In class components, a state is always an object, with the useState hook, the state does not have to be an object. Instead, you can break up state into multiple pieces that you can update independently.
useState with objects
What I mean by the title is we will create an object inside our useState hook, instead of passing a string. The initial value of useState can be of any type, like an array, an object, a boolean, a number, a string, etc.
Now, let’s break down the code above to explain what we’ve added and how it works.
- importing the
useStatehook from React - creating a new constant that returns
nameandsetNamefromuseState. - initializing the
useStatehook with an object. - create a
formto display our inputs andh2tags - add
valueproperty andonChangeevent handler to our inputs.e.target.valuewill give us the value inside the input field.
The important part about this component, we need to focus on the onChange event handler. onChange event fires whenever the user types in something.
Whenever the first input value changes, we update the firstName property, and when the second input value changes, we update the lastName property.
Okay, everything looks perfect. Now, let's test our code.

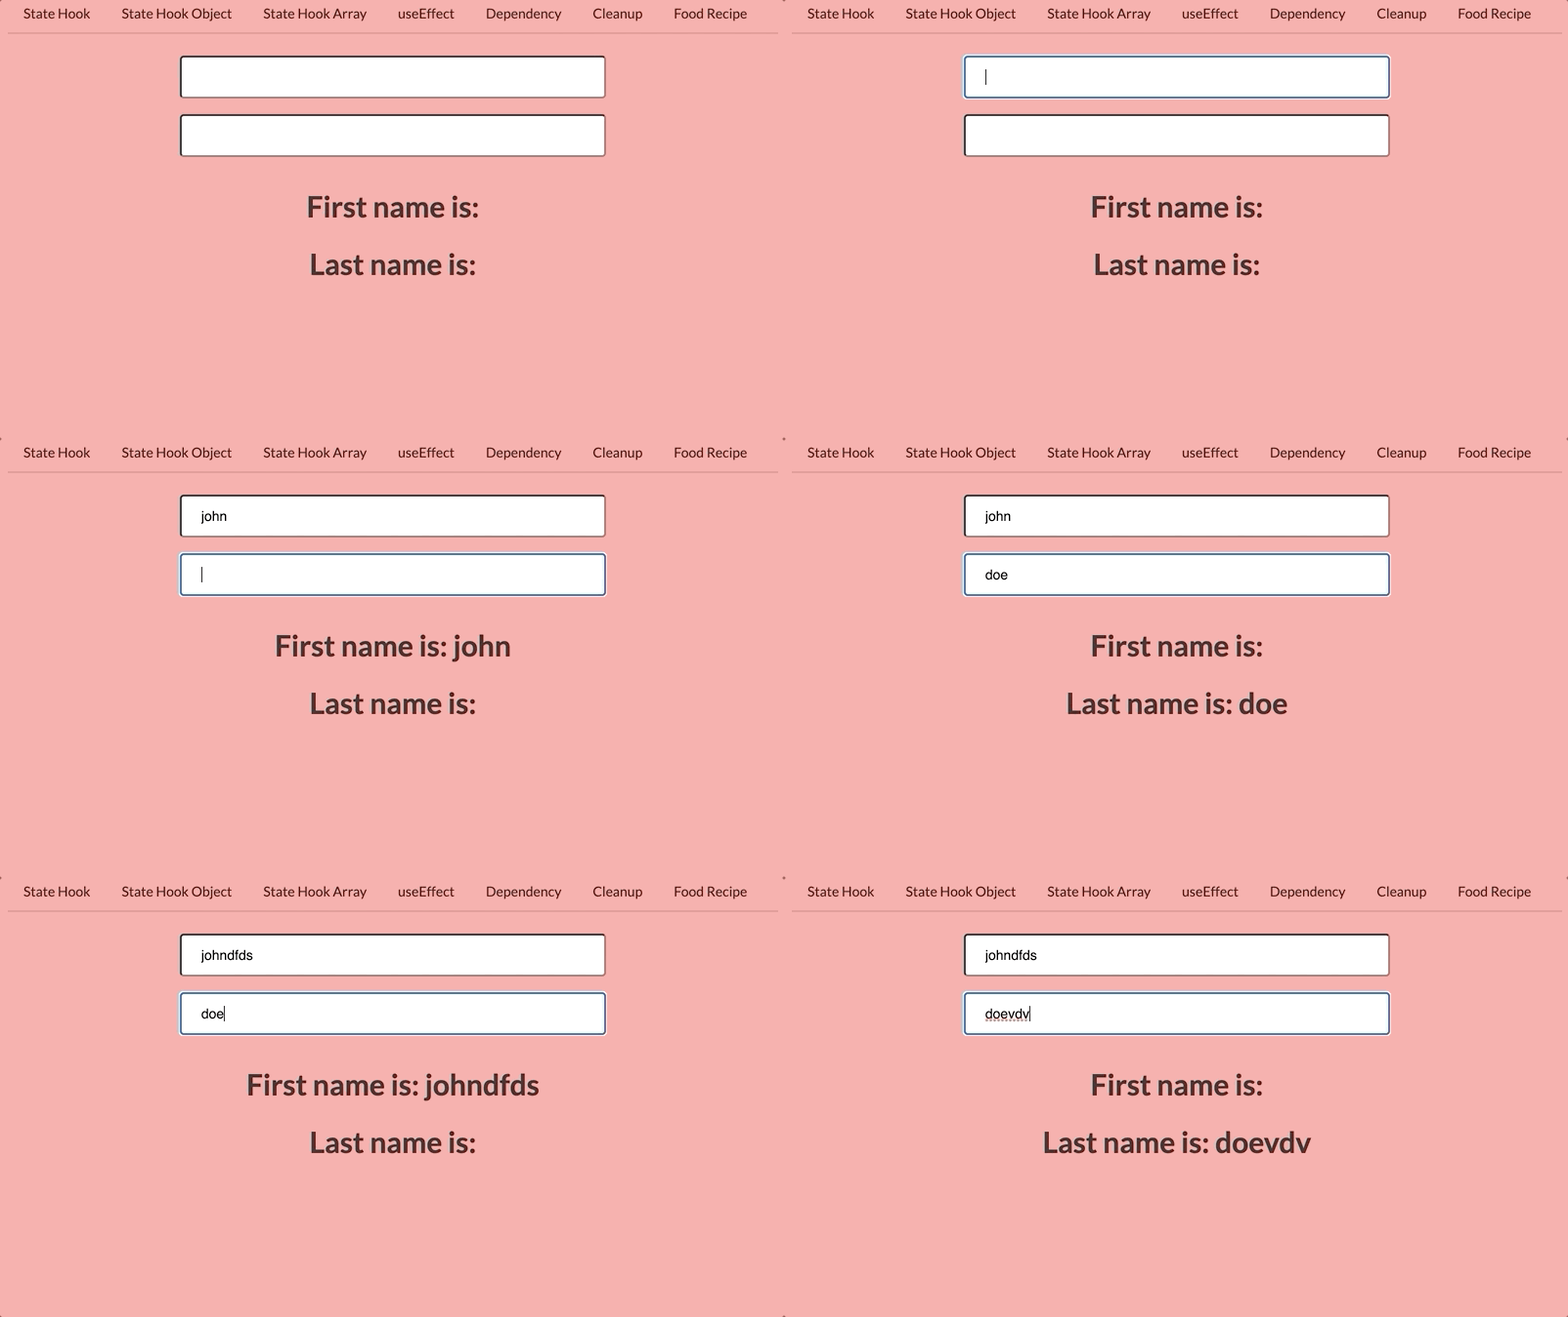
We have a problem with updating our states; so, as you can see, we can update both input fields; but when we switch between them we cannot keep track of our old state.
Let's add this one line of code to see what is happening.

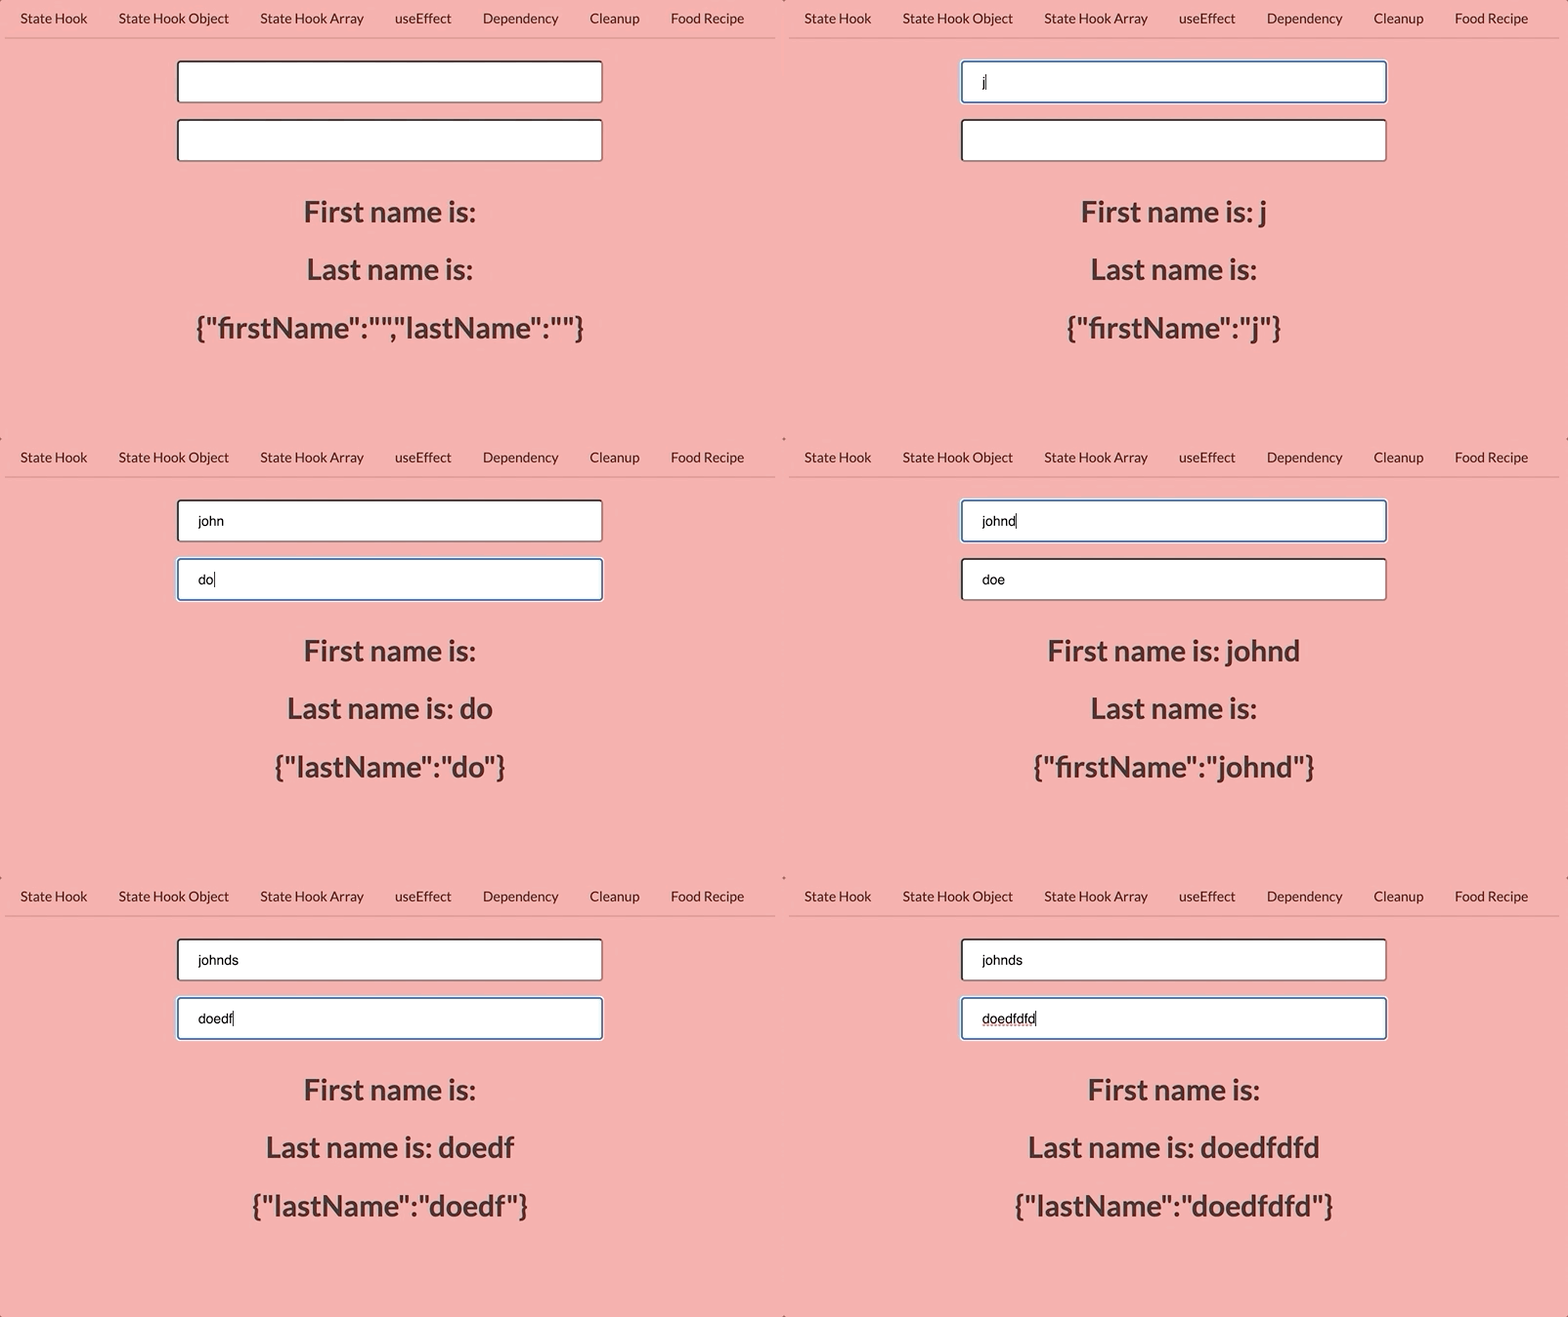
When we type for the first name input, the last name input is disappearing. Because state doesn't automatically merge and update the state. useState does not "merge" its arguments with the old state. They just set the state. Every time, with every rerender we don't mutate our state, we get a completely new state, we can change our state with the setter function.
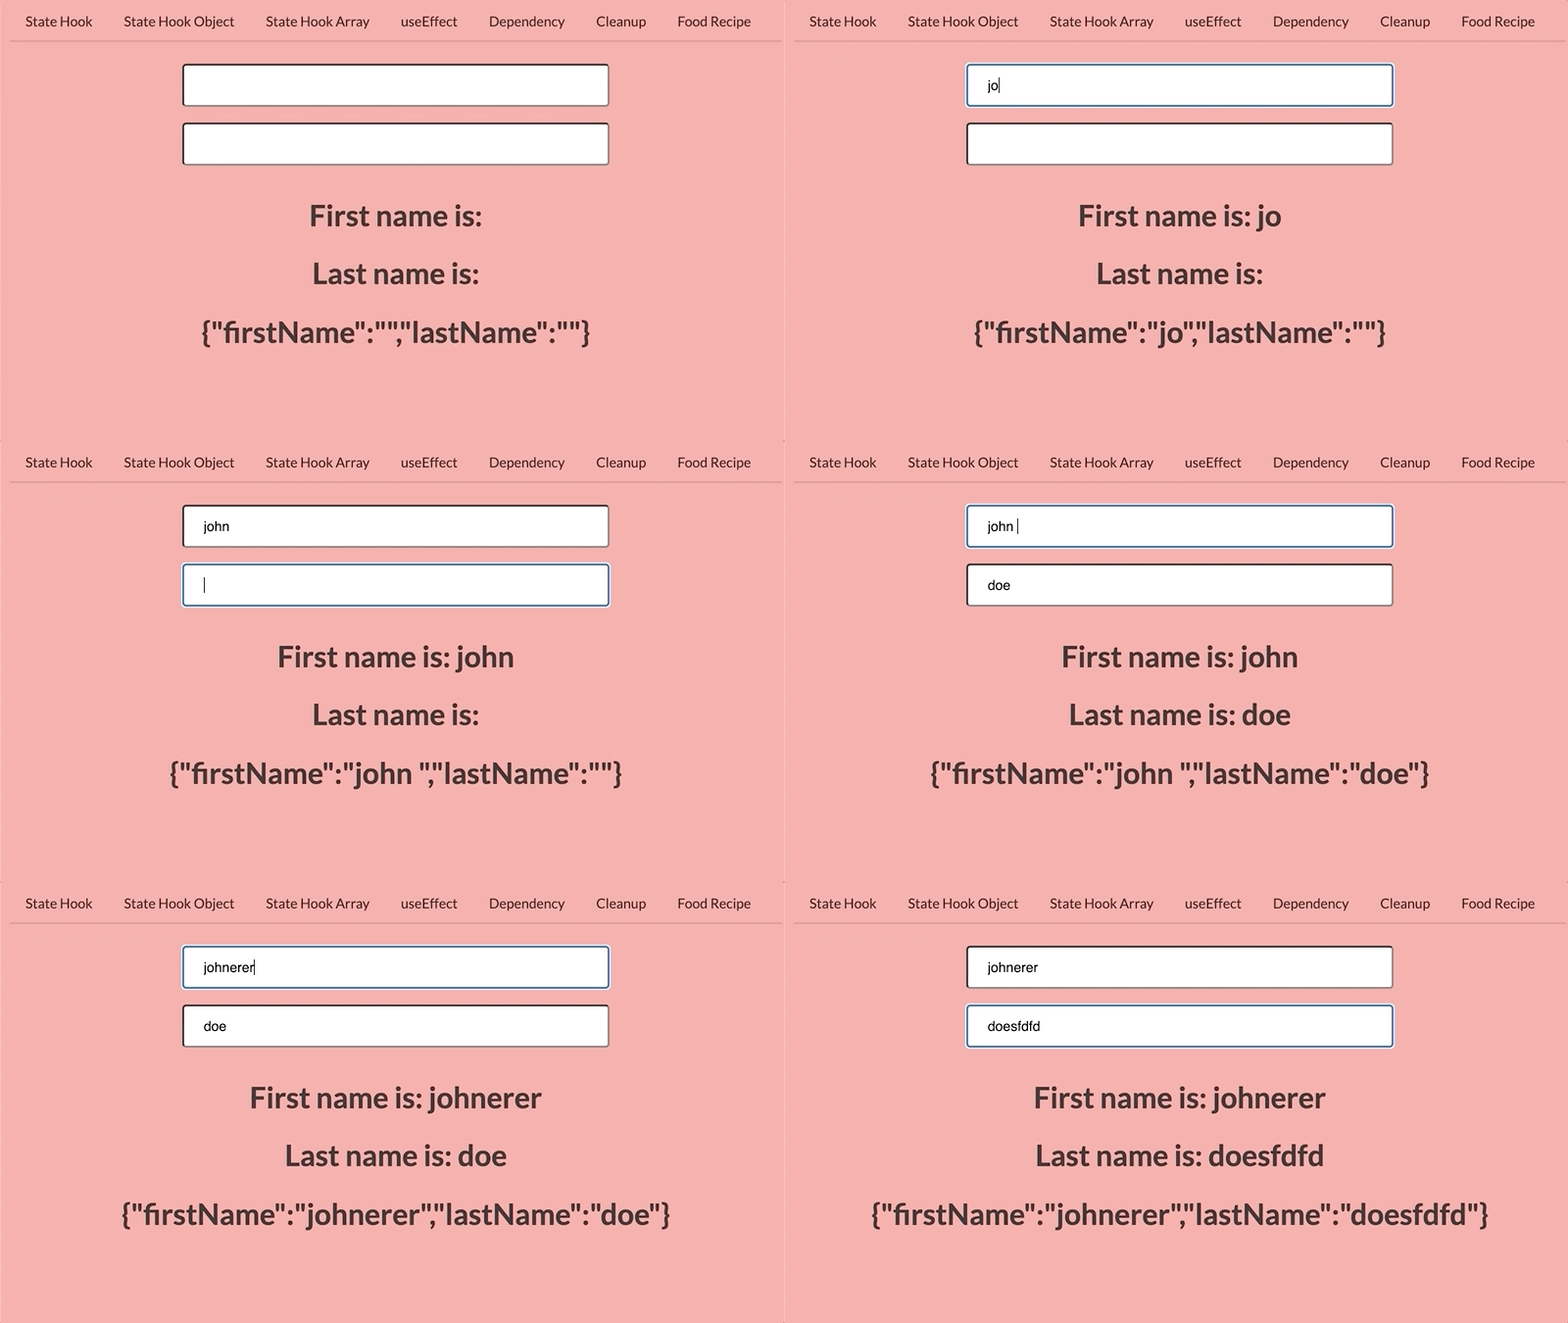
In class components setState will merge the state; useState hook will not merge the state. To handle this, we will use the spread operator to merge. With this, the setter object will copy everything inside the name object, and overwrite the firstName or lastName fields with a different value.
Let's see this in our code:

important
- We
shouldn't mutate the statein our components. - We need to pass the previous state by the state setter(with the spread operator).
useState with arrays

Now, we will make another component that we will use an array for the initial state. Let's see what will happen.
Let’s break down the code above to explain what we’ve added and how it works.
- importing the
useStatehook from React - creating a new constant that returns
itemsandsetItemsfromuseState. - initializing the
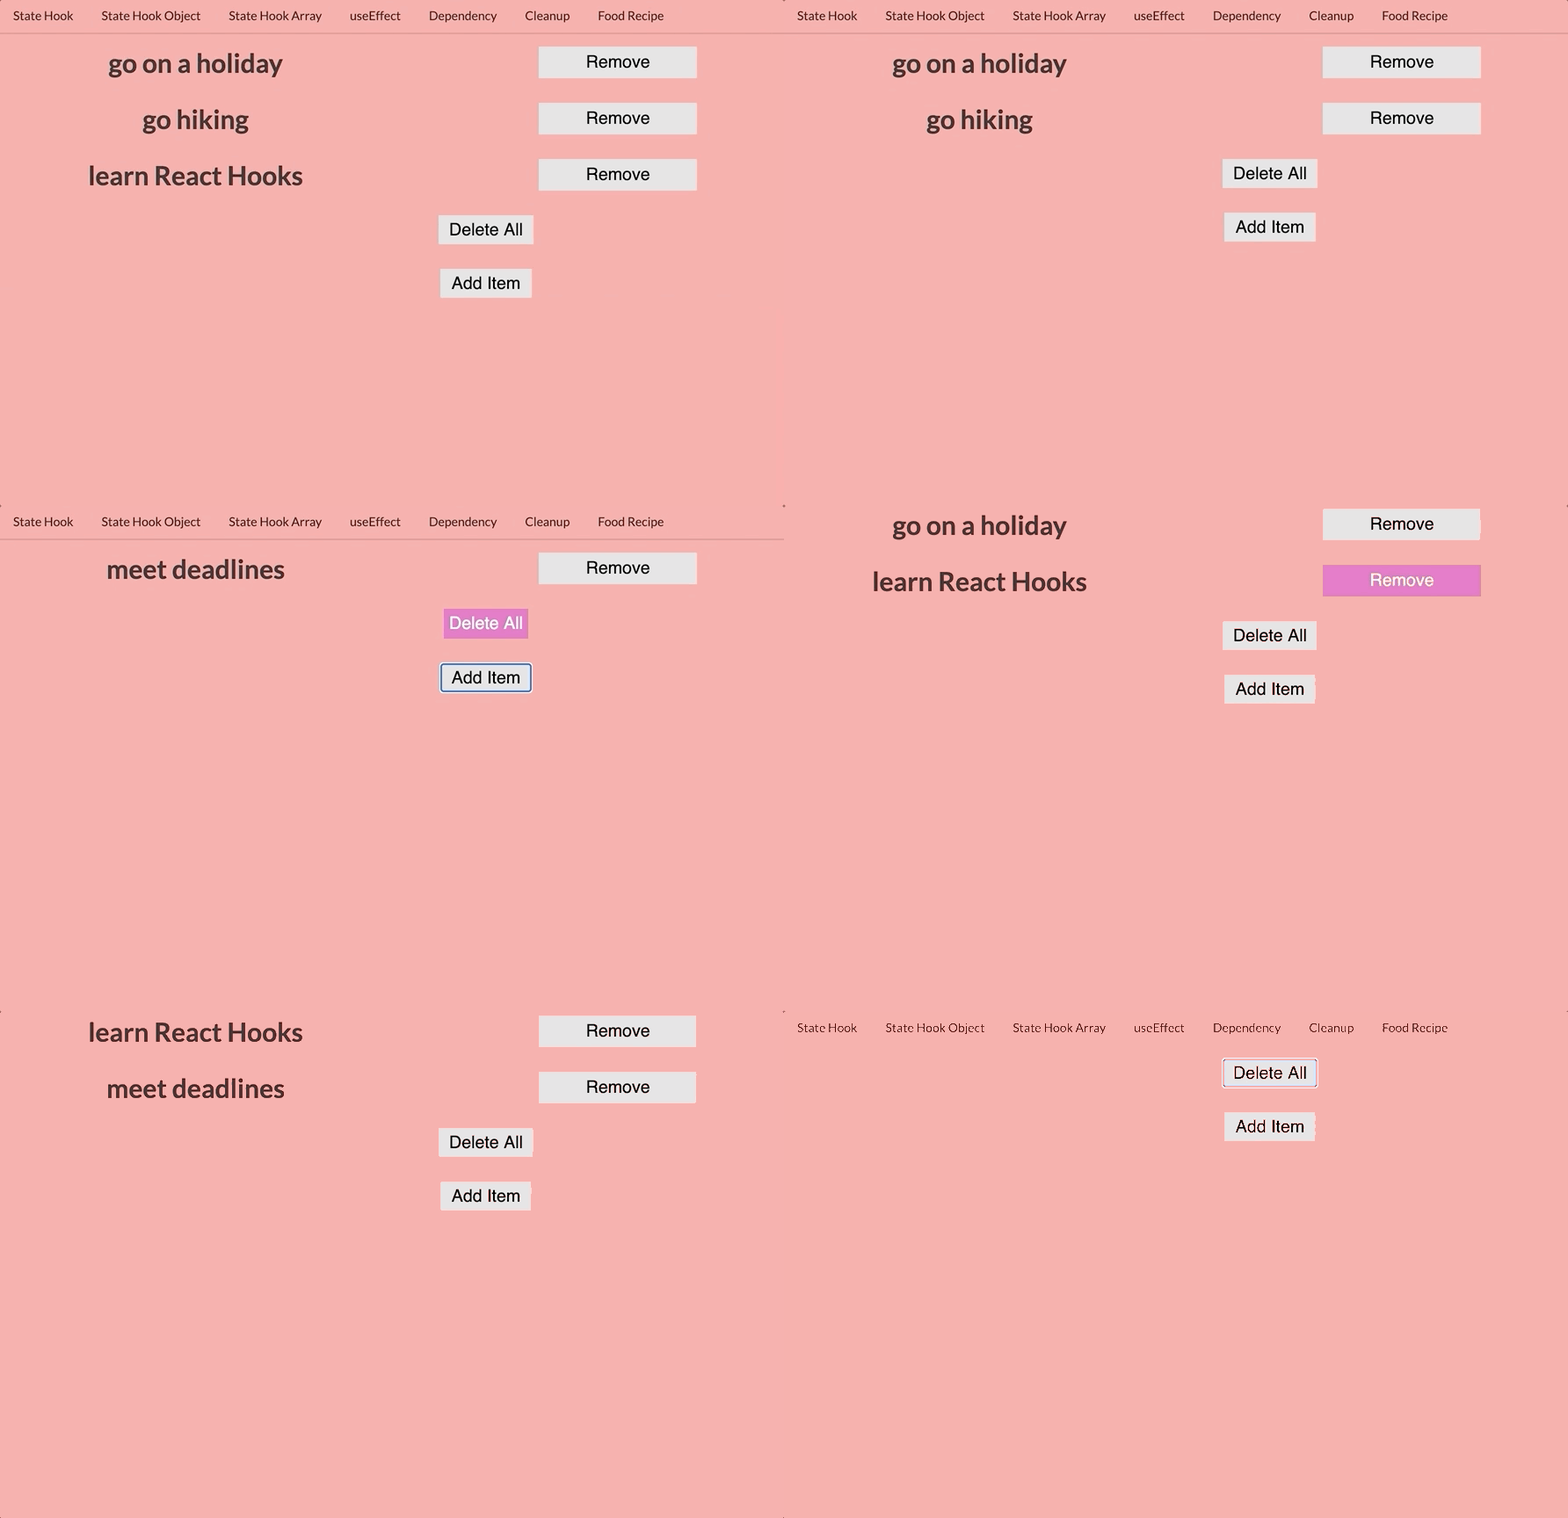
useStatehook with an array of objects. - returning some JSX elements to display our array items and Semantic UI to add a grid system
- mapping over the array to get each array item
- adding a remove button for every item when it is clicked, we can remove the individual item
- adding a button with an
onClickhandler that invokes thesetItemsfunction ofuseStatewith an empty array. So, we can remove everything from our array. - adding an add button, when it is clicked on it adds a new item. We merge the old state with the updated state with the help of ES6 spread operator.

And yes, we are done with the useState hook. 🥳