Getting Started

React is a Javascript library for building user interfaces. You may have worked with class components, and didn't understand why developers are using hooks. As a beginner, it's hard to know which one to use, for example, there are legacy codes written in class components, and you need to refactor it to functional components using Hooks, or you just want to learn the new React, and don't want to invest time learning class components. If you are thinking like this, you are in the right place. This tutorial will show you the details about using useState and useEffect hooks, as you progress you can go on with different hooks, and libraries. React is a huge library and you will be shocked that there are so many different things that you can do with React only. So, fasten your seatbelts, and enjoy the ride.
What we will cover
Throughout this tutorial, we’ll learn how to set state using the useState and useEffect Hooks. We’ll create different components and for the last component, we will combine these two hooks and create a recipe app that will fetch new recipes from an API. More specifically, we will learn how to:
- use
useStatewith an array/object for the default value - use
useEffectwithout a Dependency Array, with an Empty Dependency Array, with a Non-empty Dependency Array, and with a cleanup function - fetch an API with
useEffect
By the end of the tutorial, you will have the following skill sets:
- The hands-on practical and real-life scenario of basic React Application using React Hooks.
- You will manage state in a functional component using Hooks, and you’ll have a foundation for more advanced Hooks such as
useCallback,useMemo, anduseContext.
Here are the source and a live demo of the end result.
Prerequisites
- Basic familiarity with HTML & CSS.
- Basic knowledge of JavaScript ES6.
- Basic understanding of the DOM.
- Basic React knowledge like props, components, one way-data-flow
What Are React Hooks?
Hooks are a new addition in React 16.8. With the help of hooks, we can use state and other React features without writing a class.
Hooks allow for attaching reusable logic to an existing component and use state and lifecycle methods inside a React functional component.
We can organize the logic inside a component into reusable isolated units, and we have a better separation of concerns.
React Hooks makes developing apps easier with less complexity. It improves the readability and organization of components.
We can create custom hooks to reuse code across our app.
I want to start our tutorial with a general overview of our hooks. This will you a big picture of hooks, then we will dig deeper into our two commonly used hooks. You can just skim over these and use them as a reference when you need them. This may be overwhelming, but no need to worry about it right now.
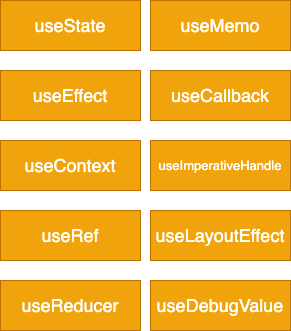
useStateis the most common hook that you will see. It is thestate hookfor declaring the state in our components.useEffectis used for side effects like fetching data from an API.useRefis used to allow access directly to an element in the DOM and to create a mutable ref object that won't trigger a rerender.useContextallows us to easily work with the React Context API (solving the prop drilling issue).useReduceris an advanced version ofuseStatefor managing complex state logic. It’s quite similar to Redux.useMemoreturns a value from a memoized function.useCallbackreturns a function that returns a cacheable value. Useful for performance optimization if you want to prevent unnecessary re-renders when the input hasn’t changed.useLayoutEffectsimilar touseEffect, they differ in when they trigger.useImperativeHandleto customize the instance value that’s exposed to parent components when usingref.useDebugValuedisplays a label for custom Hooks in React Developer Tools.
In this tutorial, we will focus on the most common hooks: useState and useEffect. But first, let's start with why we need hooks in the first place.
Why Hooks?
Before Hooks:
- We would need to understand how this keyword works in Javascript and to remember to bind event handlers in
class components. - A common way to attach logic externally to a component was to use the
render propsorHigher-Order Componentspattern.
We needed to share stateful logic in a better way. React is designed to render components, and it doesn't know anything about routing, fetching data, or the architecture of our project. There wasn't a particular way to reuse stateful component logic and this made the code harder to follow. So, React Hooks came to the rescue.

Hooks are just functions that are exported from the official React page. They allow us to manipulate components in a different manner.
important
There are some rules about how to use hooks. The following rules are:
- Only call hooks at the top level of the component.
- Don't call hooks inside loops, conditionals, or nested functions.
- Only call hooks from React functional components.
- Call them from within React functional components and not just any regular Javascript function.
- Hooks can call other Hooks.
You may ask, Should I need to change my class components to hooks? Actually NO, we can still use class components as 16.8 is backward compatible.
Application Tools
- Install NodeJS and make sure it is the LTS(long term support) version. LTS version is a less stable version of NodeJS. We will use NPM (node package manager) and we will use it to install create-react-app.
- Install your preferred code editor or IDE. I will be using Visual Studio Code. You can download it from this website. It is free to use.
- create-react-app is an npm package that we can bootstrap our React application without any configuration.
How to Install React Hooks?
You need to either upgrade the version of React and React-DOM to 16.8.2 or create a new React project using Create React App.
In this tutorial, we’ll use Create React App to create a new React project.
Open up your terminal and run the following to create the new project:
Your default browser will open and you’ll see your new React app.
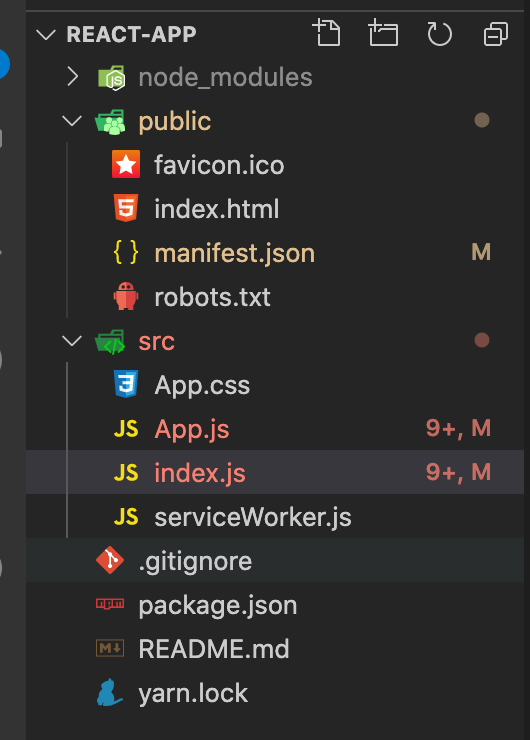
Now we can see our app is up and running. Before starting our app, let's make some cleanup and remove some of the files that we will not use.
Let's remove App.test.js, index.css, logo.svg, setupTests.js from the src folder. You can copy and paste the basic structure for App.js and index.js from the code snippets below.
Also, we can remove logo files from the public folder, now my files are looking like this:
important
Throughout this tutorial, we will create multiple components and you need to import the components to App.js to see how it is working. I have used react-router-dom to show all the components in one app, but we will not talk about routing in this tutorial. That's why you need to create a folder under src directory named components and create the components there, then import it to App.js. Example:
Styling the Application
I have used Semantic UI and custom CSS for styling. For Semantic UI, I have added a link tag inside my public > index.html file like this:
className attribute values are coming from Semantic UI or CSS. You don't need to focus on those.
For the CSS code, you can copy-paste these inside App.css file.
Now, with this, we are ready to go. 🥳